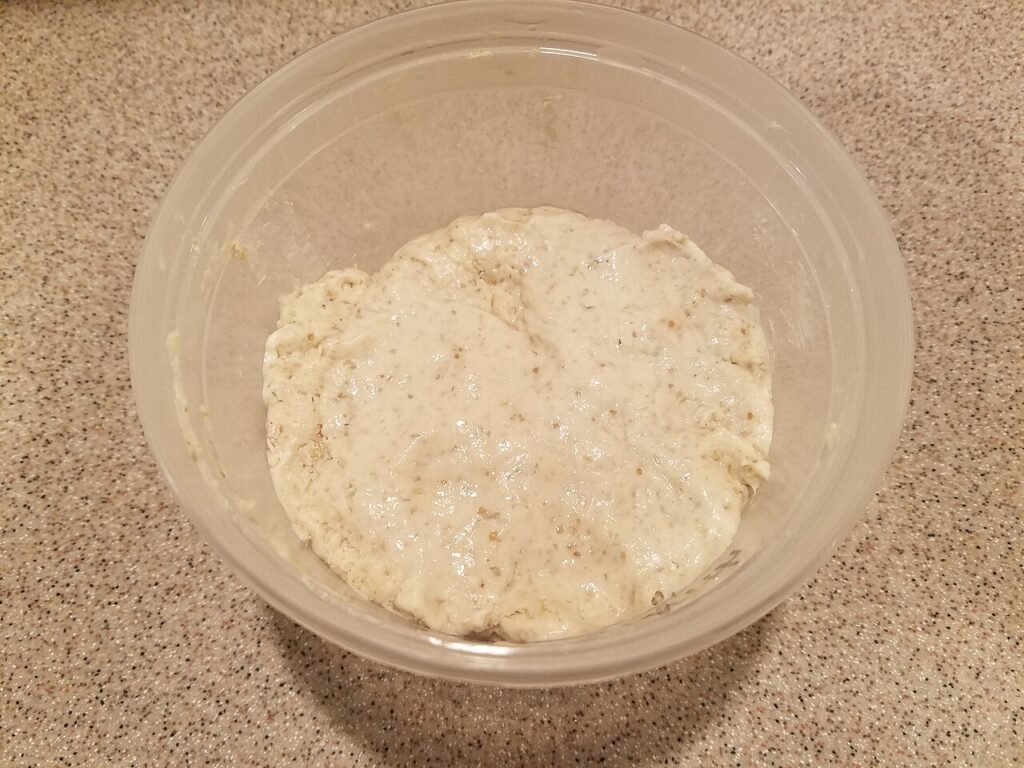
This is a quick way to start a sourdough starter and is particularly useful for Amish friendship bread. Instead of relying on the wild yeast and bacteria that are naturally present in the air, it swaps in a commercial yeast. Because the commercial strains are very vigorous, it is unlikely that wild yeast will supplant them.
This makes enough for two starters, so you can use it all yourself, or you can share it with a friend.
Ingredients
- 1 cup all-purpose flour
- 1 cup milk
- 1 small package (0.25 ounces / 7 grams) instant dry yeast
Equipment
- A bowl or other container, at least 1 quart (1 liter) in size. It should be made of a non-reactive material, such as plastic, glass, or stainless steel (but not copper, cast iron, etc.)
- Spoon or whisk for stirring
- Lid or plate to cover the bowl
Procedure
- Mix all ingredients in a bowl until smooth.
- Cover the bowl and place in a warm place (~70–80 °F / 20–27 °C). It should begin making some small bubbles within an hour or two (the timing depends mainly on how cold the milk is).
- Proceed as directed for “Day 1” of your sourdough recipe.
Maintenance
Sourdough starters are flexible and difficult to kill. As long as they get oxygen, flour, and liquid on a regular basis, they are likely to thrive. Below is a low-hassle schedule for maintaining a starter with rich ingredients (i.e., using milk and sugar instead of water). Other schedules feed the starter each day, or even twice a day, but they add smaller amounts each time. Especially for bread baking, some schedules feed the starter at night and then mix the bread dough early in the morning (first reserving the amount needed to continue the cycle, usually one cup/250 mL), so that the dough will benefit from a fully risen starter at peak activity. For a slower schedule, put the starter in the refrigerator; stir it most days, but feed it half as much. To take a break for multiple weeks or months, put it in the freezer. When you thaw it out (perhaps overnight in the refrigerator), it’s day 1 again.
This schedule is a one-week plan, but some bakeries have shorter cycles, and other people prefer a long cycle. This is accomplished mainly by changing the amount of food and liquid added each time. As long as you feed it before baking, it is possible to use this starter on any day of the week. If you need to bake a cake on a different day, you can declare today an honorary baking day, and proceed as if it were Day 7. The day after you bake is always Day 1 in your new cycle.
If you are not planning to bake Amish friendship bread (which is a sweet cake), you may reduce or completely omit the sugar from this schedule.
- Day 1: Mix the starter as above (or, if you already have starter, or someone gave you a starter, stir the starter well) and put it in a warm place.
- Day 2: Stir the starter well.
- Day 3: Stir the starter well.
- Day 4: Feed the starter by adding 1 cup each of flour, sugar, and milk. Stir until smooth.
- Day 5: Stir the starter well.
- Day 6: Stir the starter well.
- Day 7: Baking day! First feed the starter by adding 1 cup each of flour, sugar and milk. Stir until smooth. Then set aside the amount of starter you want to keep for next week’s cycle (usually 1 cup). Use the rest to make Amish Friendship Bread or other baked goods.
If the starter is in a plastic zip-type bag, open the bag every time you stir it to let out any excess gas and get fresh air in. You don’t want gas to build up in the bag, because it might pop open and make a mess. Flexible bags can be “stirred” by just mashing the bag, but make sure they get fresh air each time.
If a brown liquid (called “hooch”) pools on the surface, the starter is still alive and edible. It’s a sign of active yeast fermentation with too little oxygen and too little food. However, that liquid will separate out every time you let the starter sit, and if a large amount forms, it may affect the flavor of your cake. Just pour that thin liquid away, and consider stirring the starter more often, reducing the amount of sugar you feed it, or feeding smaller amounts more frequently (e.g., ½ cup flour, ½ cup milk, and ¼ cup sugar once a day for a few days).
This schedule can be adjusted to suit your needs. You can slow down the starter’s cycle by storing it in the refrigerator instead of in a warm place. In the refrigerator, stir occasionally and feed the starter at least once a week (more often if liquid “hooch” forms on the surface). You can also freeze the starter for many months. When you are ready to use it again, thaw in the refrigerator overnight, and then feed it the next day to restart your cycle on Day 1.
Safety
- Always keep sourdough starters and raw yeast dough away from pets. Eating living, growing yeast can cause vomiting, diarrhea, and other digestive problems in dogs and cats.